Incoming invoices
Submit invoices for the treasurer, mark them as paid and link them to a booking.
Incoming invoices are your club's inbox for bills: everything the club has to pay. Whoever ordered or bought something for the club uploads the invoice here — the treasurer works through them and attaches each one to the matching booking.
That ends the collecting of invoices by email and on paper: the receipt sits in one place, everyone involved sees its state, and it is right at hand when the payment is booked.
Not the same as “Invoices”
Incoming invoices are bills the club receives and pays. Under Rental fees & invoices you will find the invoices the club issues itself — to members or supporters, for example.
Who may do what?
- Board, secretary and conductor may submit invoices. They see their own submissions and their state — but not other people's receipts, and nothing else from the cashbook.
- The treasurer sees all submitted invoices, marks them as paid and links them to a booking.
Submitting an invoice
Capture the receipt
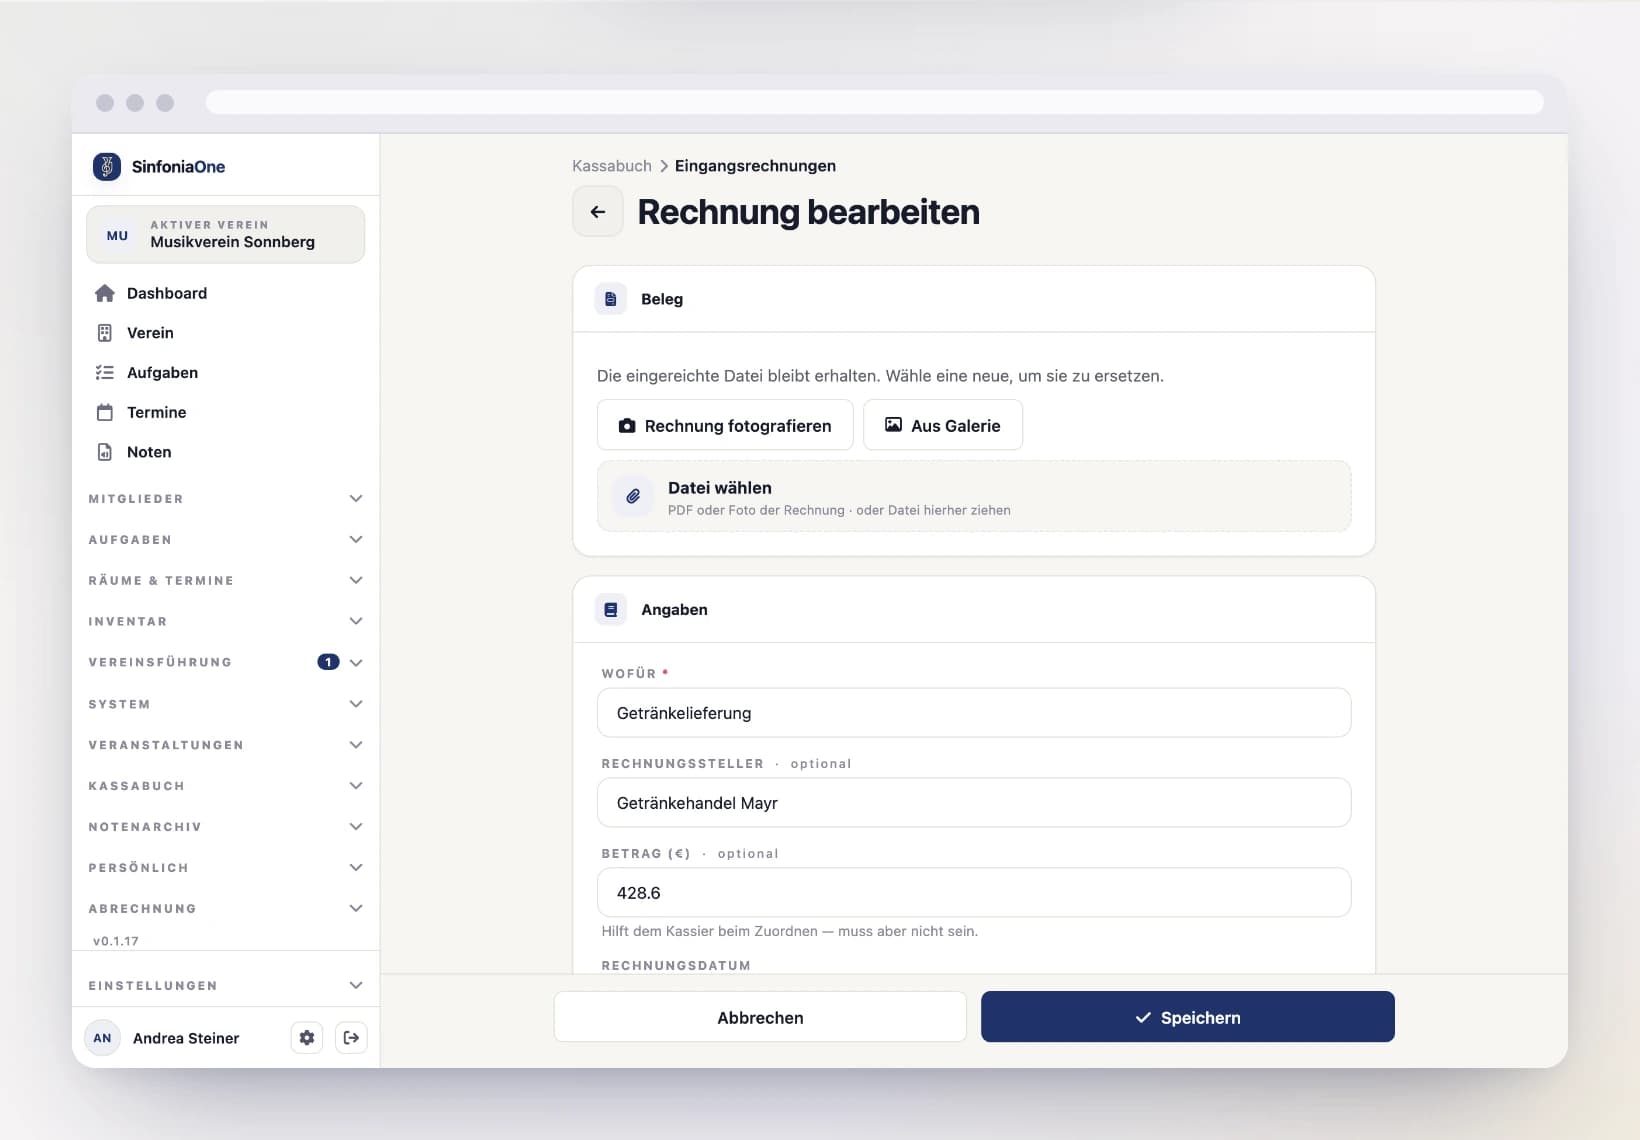
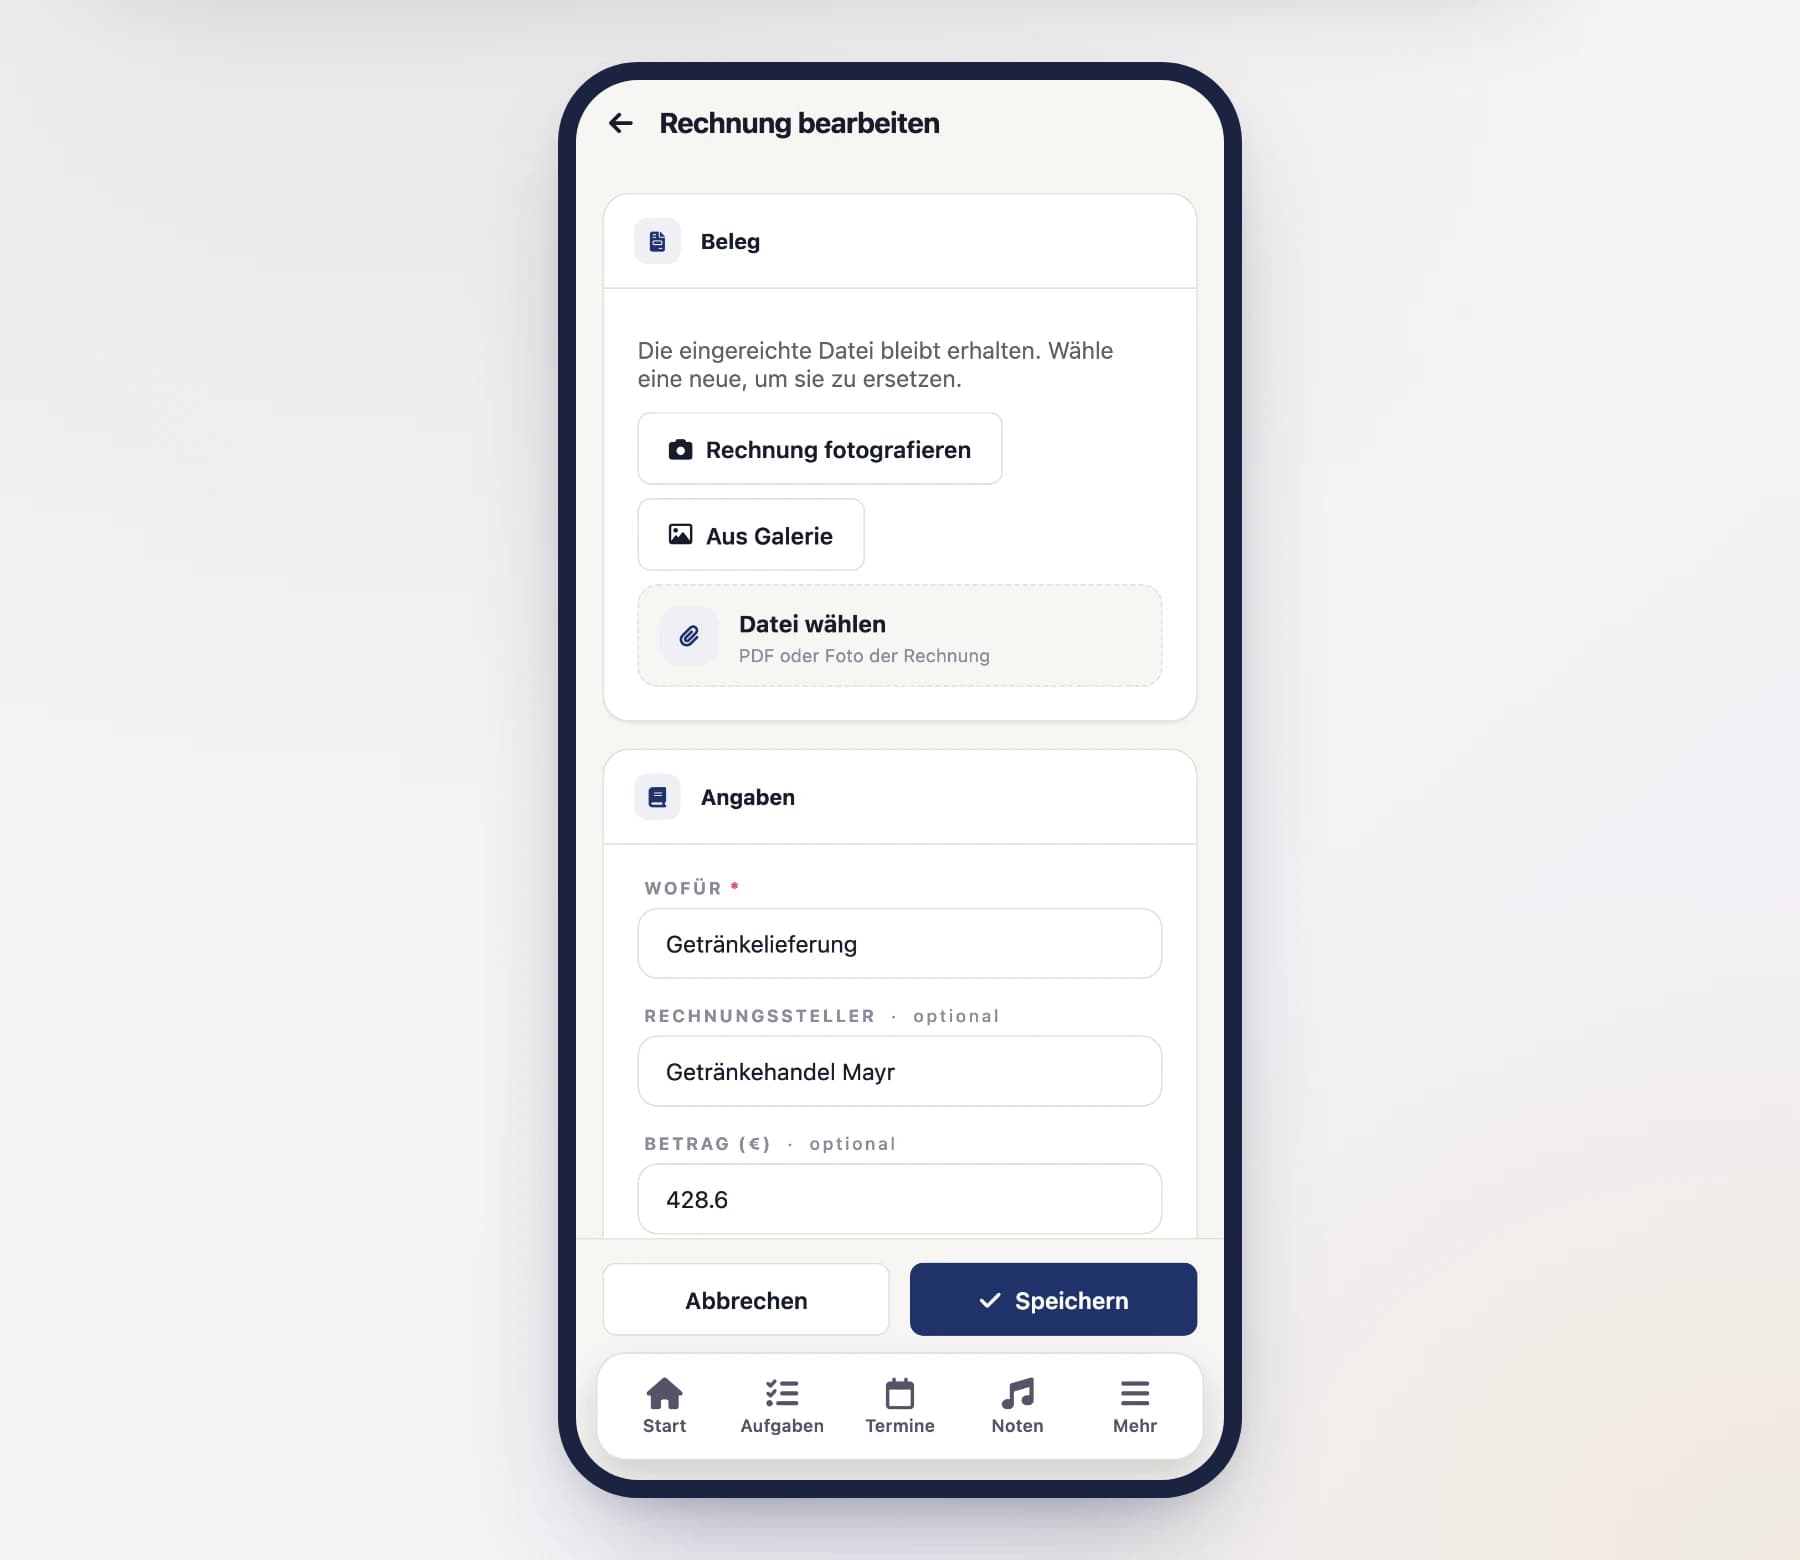
Photograph the invoice with your phone, pick an image from your gallery or attach a PDF — on a computer just drag it onto the dashed field. The receipt is the essential part — without it you cannot continue.
Add the details
Enter what the invoice is for (for example “Sheet music for the spring concert”). Everything else is optional, but helps the treasurer match it up:
- Issuer — who the invoice is from.
- Amount — if you have it at hand.
- Invoice date and Due date — so the treasurer knows how urgent it is.
- Note for the treasurer — anything that is not on the receipt itself.
Submit
Tap “Submit”. The invoice now sits in the treasurer's inbox with the state Open. While it is open, you can still correct or delete your own submission.
The three states
Every incoming invoice is in exactly one of three states — you see it right in the list and can filter by it at the top:
| State | Meaning |
|---|---|
| Open | Submitted, but not paid yet. This is where the treasurer's work is. |
| Paid | Marked as paid by hand, without a booking in the cashbook. |
| Booked | Attached to a booking line — and therefore automatically paid. |
Booked means paid
As soon as an invoice is attached to a booking it counts as paid — you do not have to tick that separately. That way the two statements can never drift apart.
As treasurer: working through an invoice
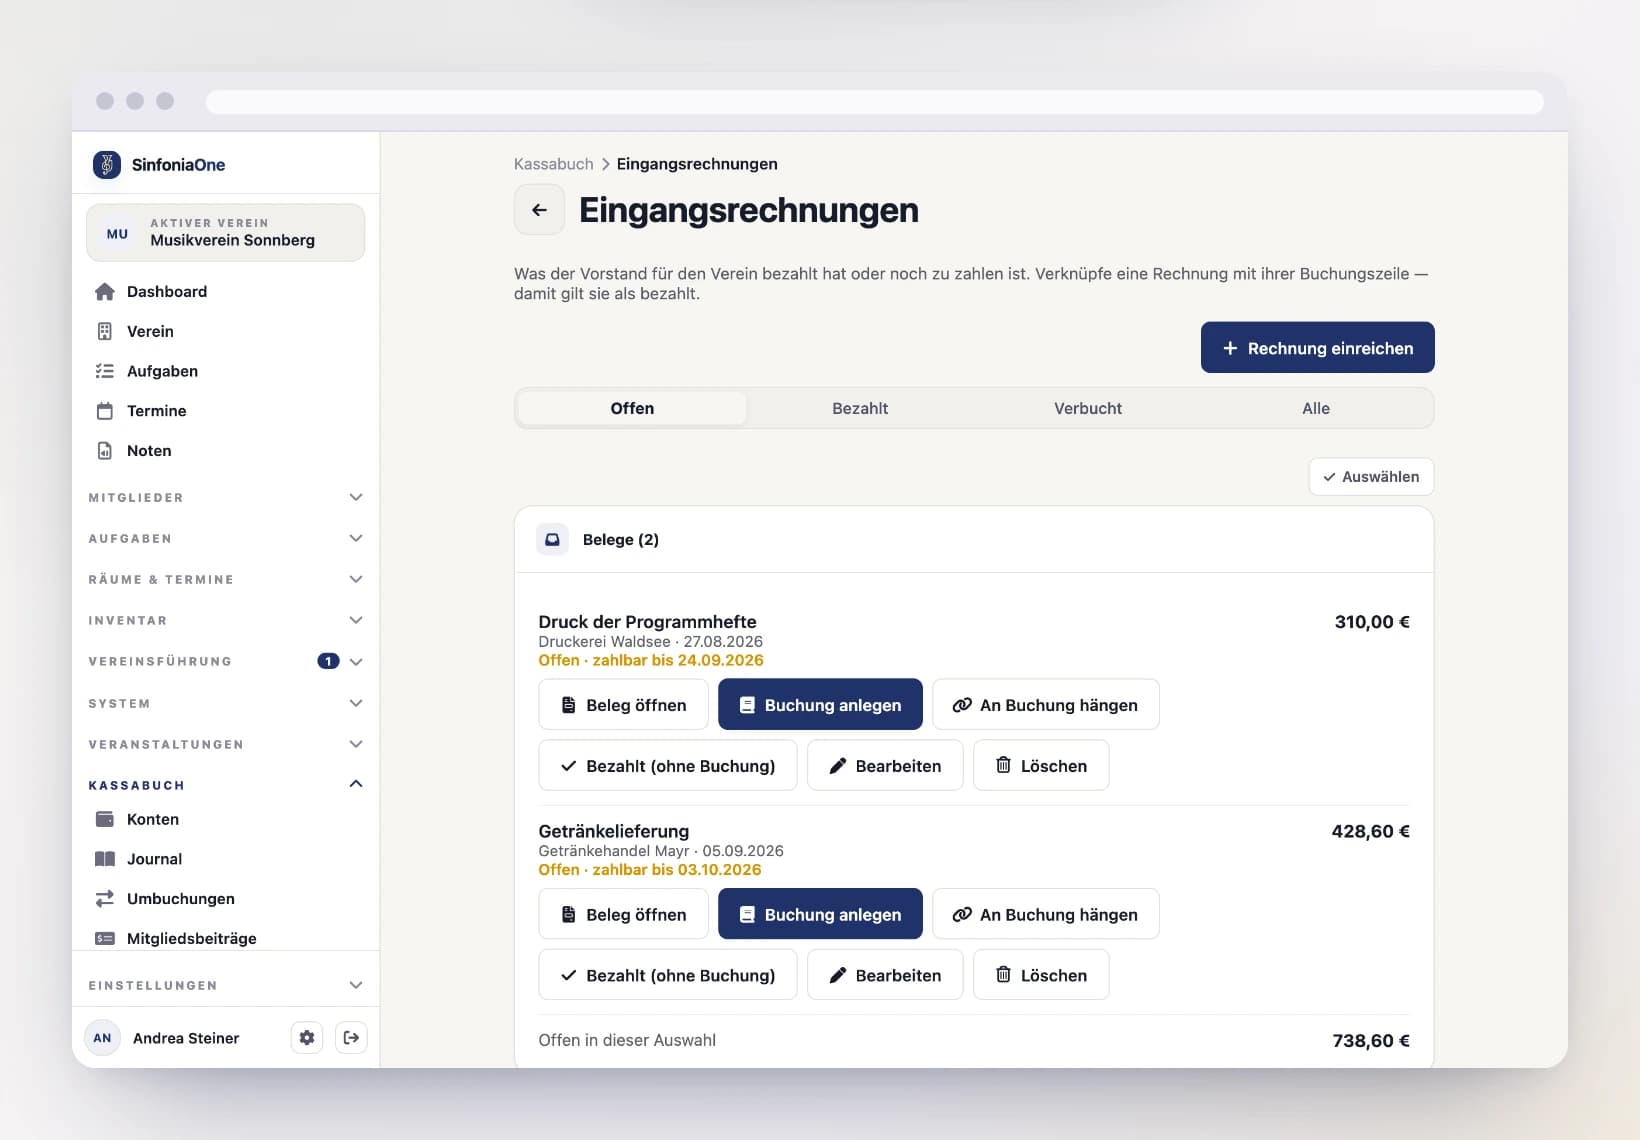
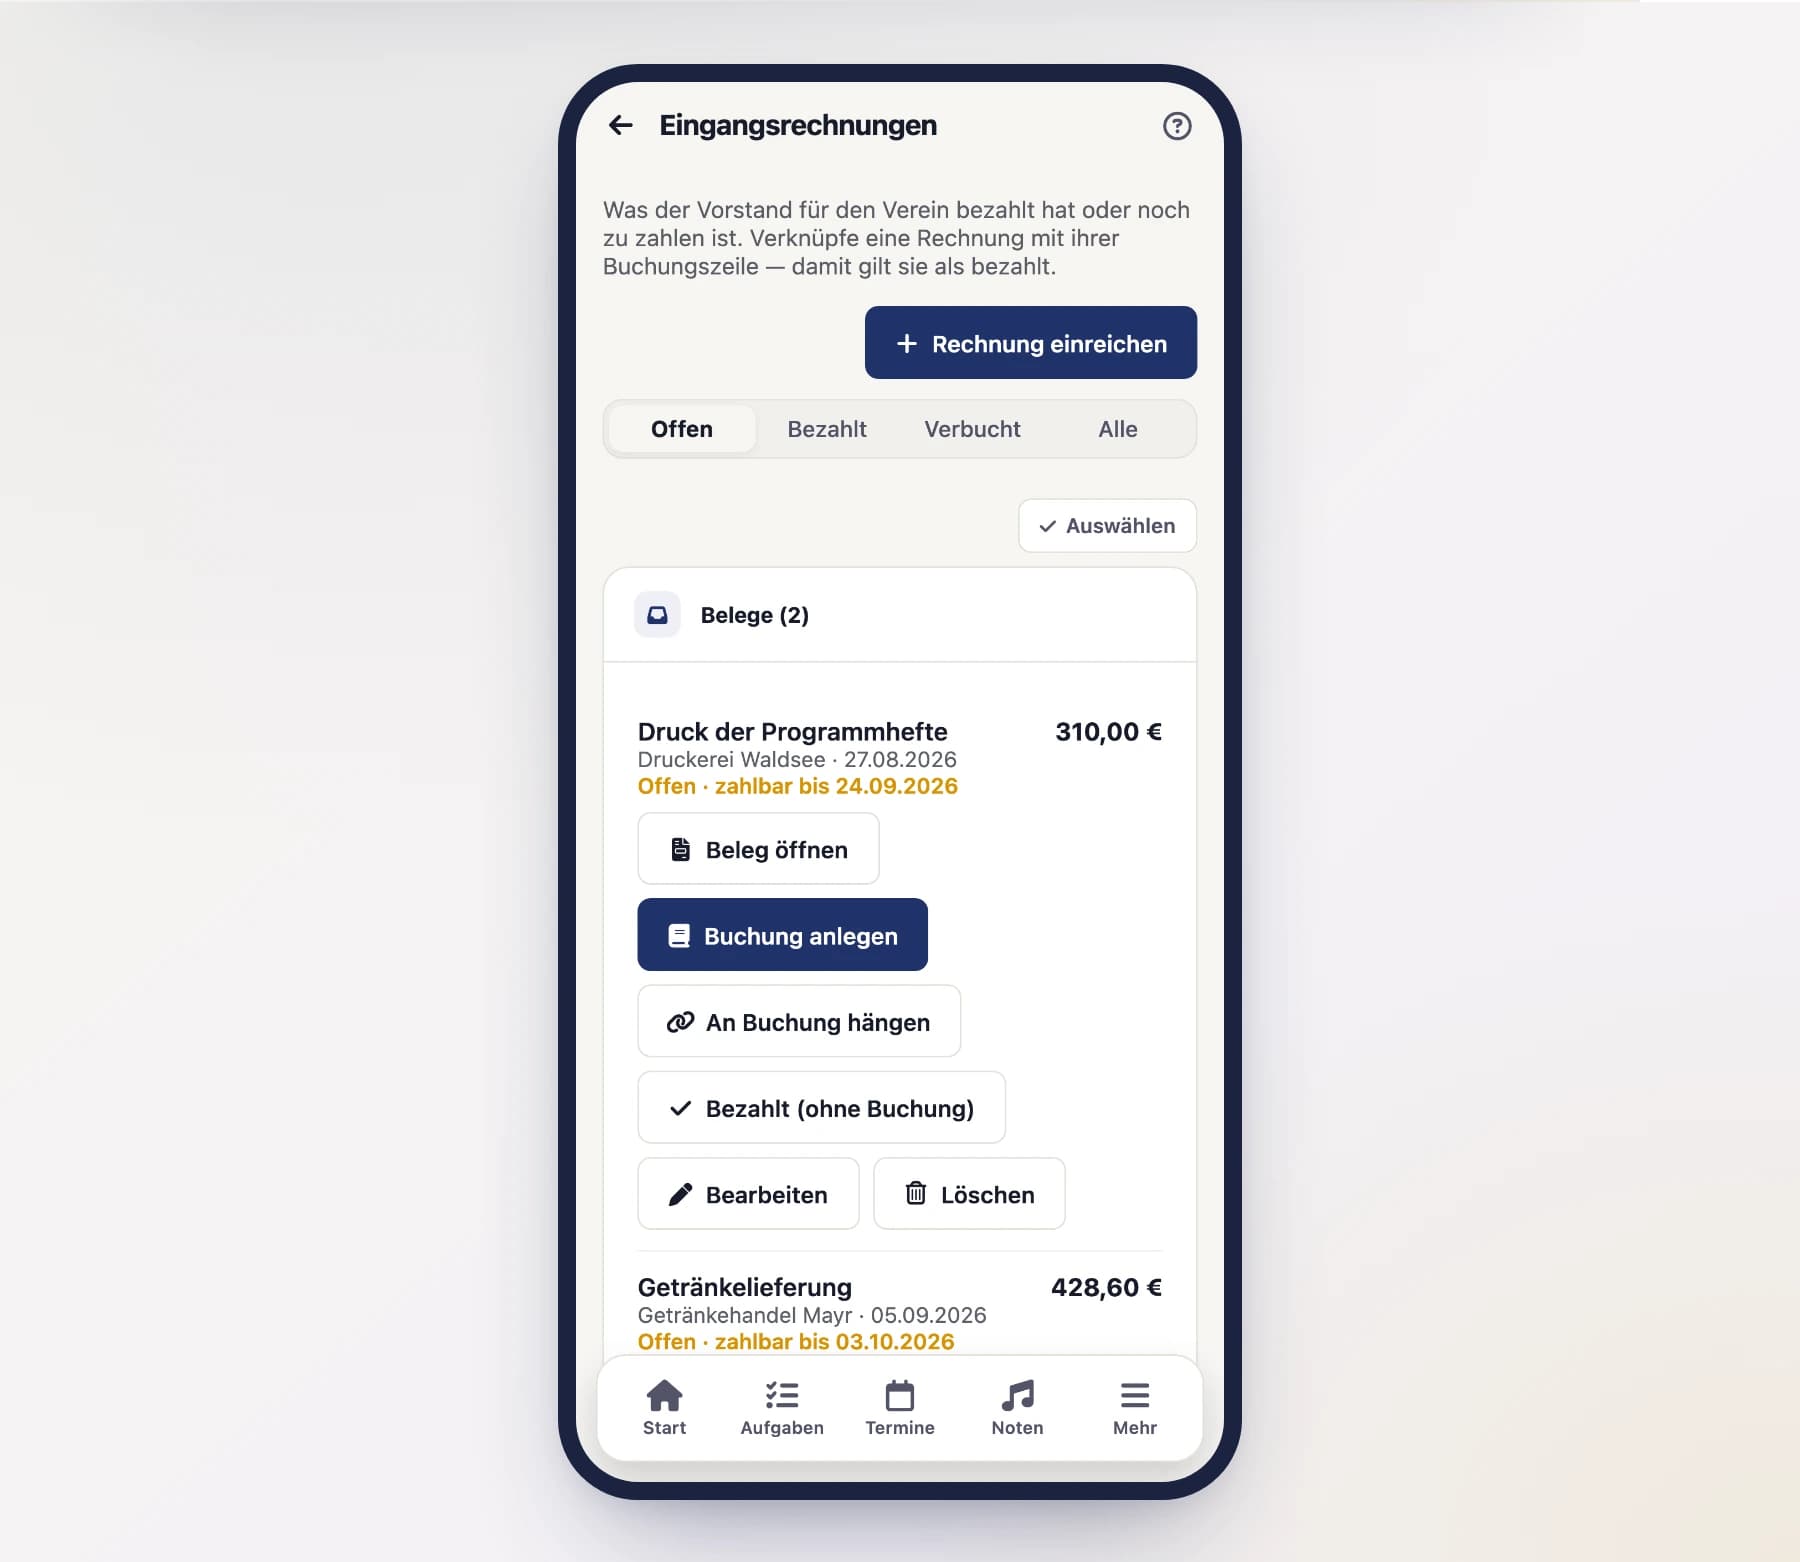
“Open receipt” shows the submitted file right inside the app — photos in the image viewer, PDFs in the PDF viewer. To work through an invoice, the inbox gives you three ways:
Create a booking
“Create booking” opens the booking form prefilled with the invoice details — amount, date, counterparty and purpose are already there. You add the account and category and save. The invoice is then attached to that booking.
Attach to an existing booking
If you have already booked the payment, choose “Attach to booking” and pick the matching booking line. The same link works from the other side: in the booking form, every expense has an Incoming invoice field listing all open submissions.
Paid without a booking
Some payments you do not want (or do not yet want) in the cashbook. Then simply mark the invoice as done with “Paid (no booking)”. “Back to open” reverses that.
Detaching an invoice
If you detach an invoice from its booking, it falls back to Open — the booking itself stays exactly as it is. Should you have marked the invoice as paid by hand as well, that marking remains.
Visible on the booking
In a booking's detail view, the Incoming invoices section shows which submitted receipt is behind it and who submitted it — “Open” displays it right inside the app. The receipt stays with the incoming invoice — you do not have to attach it to the booking a second time.